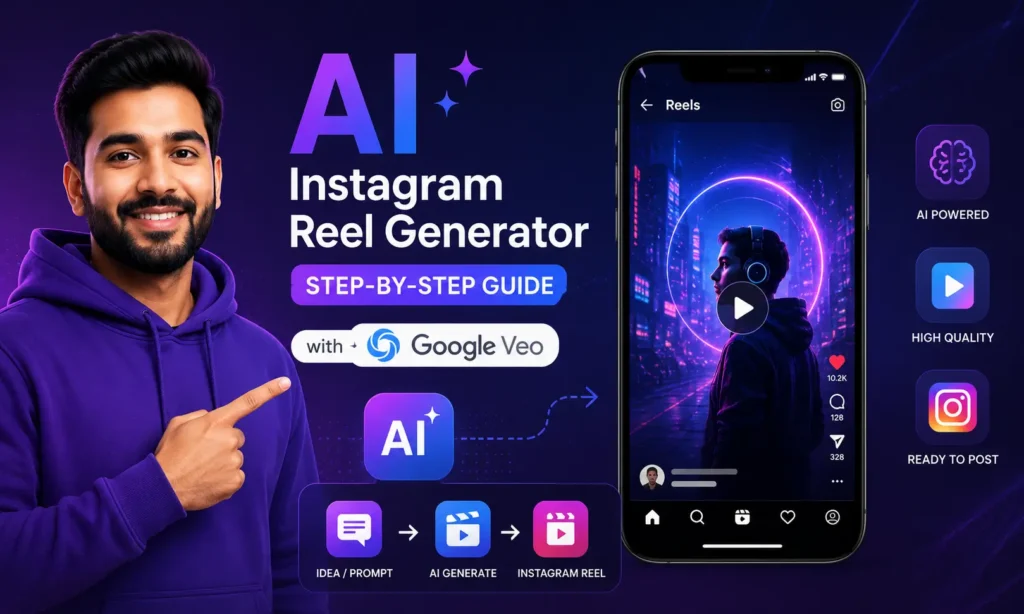
An AI Instagram Reel generator turns a photo or a text prompt into a finished video clip, no camera, no shoot, no model required. This guide walks through the actual process using Google Veo (currently on version 3.1), step by step, including the part most guides skip: how to keep the same product or character looking consistent across more than one generated clip.
If you already have footage and just need to edit and polish it, that’s a different process, covered in our guide to the best AI editing tools for Instagram Reels. This post is specifically about generating a reel when you’re starting from an image or a prompt, not existing video.
What You Need Before You Start
- A clear product photo or reference image, if you’re going the image-to-video route. Good lighting and a clean background make a real difference in output quality.
- A written description of what you want, if you’re going the text-to-video route. The more specific, the better; vague prompts produce vague results.
- Access to Google Veo, through the Gemini app, Google’s Flow tool, or Vertex AI depending on what you already have access to. Our main reel maker AI tools guide covers this and other options, including the workflow we used for the kurti case study.
- Realistic expectations about clip length. A single Veo generation produces 4, 6, or 8 seconds of video, not a full 30-second reel in one shot. Longer reels are built by generating several clips and either stitching them together or using Veo’s Extend feature, covered below.
Step-by-Step: Generating Your First Clip
- Open Veo 3.1 in the Gemini app or Flow, and choose whether you’re starting from an image (image-to-video) or a text description (text-to-video). Use this link
- If starting from an image, upload your cleanest product or subject photo. A plain, simple background works better than a cluttered one, since the model has less to interpret incorrectly.
- Write a specific prompt describing the motion, camera movement, and mood you want. Instead of “make this move,” describe it precisely: “the fabric moves gently as if worn by someone walking, soft natural light, slow camera push-in.” Specific prompts consistently outperform vague ones.
- Choose your clip duration, 4, 6, or 8 seconds. Shorter durations tend to hold up better for fast-paced content; 8 seconds suits a single establishing shot or a slower product reveal.
- Generate the clip and review it critically. Check hands, fabric edges, product labels, and background details first, since these are the areas most likely to show visible errors on a first attempt.
- Regenerate with an adjusted prompt if something looks wrong, rather than accepting the first result. This is normal, and our own kurti project took several attempts before we got a clip that looked convincing.
Example Prompt you can use with Gemini Omni to generate reel
Portrait Instagram Reel video.
Professional Indian digital marketing mentor in a modern premium office.
Use the same reference avatar with identical facial features, hairstyle, beard, skin tone, smile, body proportions, and purple hoodie.
Standing beside a laptop displaying a content calendar.
Looking directly into the camera with confident body language.
Camera slowly pushes in while animated text appears:
“30 Days of Content
in Just 2 Hours”Modern office.
Bright studio lighting.
Purple and white branding.
Premium corporate aesthetic.Voiceover
“What if I told you that creating 30 days of content doesn’t take 30 days? With the right AI workflow, I finish everything in just two hours.”
Keeping Your Character or Product Consistent Across Clips
This is the part most tutorials skip, and it’s the difference between a reel that looks like one cohesive video versus a reel that looks like five unrelated clips stitched together.
Veo 3.1 has a feature called “Ingredients to Video.” Instead of generating each new clip from a blank text prompt, you upload up to 3 reference images, of the same character, product, or scene, and Veo uses those images to anchor how that subject looks in the new generation. This is what you use when you want the same kurti, the same model’s face, or the same mascot to appear consistently across separate clips that aren’t directly continuing from one another.
To use it: after your first successful generation, save the reference image (or images) of the subject you want to keep consistent. When you generate your next clip, a different scene, a different angle, a different action, upload that same reference image again alongside your new prompt, and keep your written description of the character or product worded the same way each time. Consistency improves noticeably when you reuse the exact same reference and the exact same descriptive language, rather than re-describing the subject from scratch every time.
This is different from the Extend feature, which continues an existing clip from its final frame rather than anchoring a new, separate generation. Use Extend when you want to keep building on the same continuous shot (the fabric keeps moving, the camera keeps panning). Use Ingredients to Video / reference images when you’re generating a new, separate scene but want the same subject to still look like itself.
Building a Longer Reel from Short Clips
Since a single Veo generation caps out at 8 seconds, a full-length reel is usually built one of two ways:
- Extend an existing clip. Veo’s Extend feature generates a new continuation based on the final frame of your previous clip, adding roughly 7 more seconds each time, up to a combined total of around 148 seconds. This works well when you want one continuous shot to keep evolving, the same camera angle, the same motion, just carrying forward.
- Generate separate short clips and stitch them together. Using the reference-image method above to keep your subject consistent, generate several distinct 4-8 second clips (different angles, different actions), then combine them in an editing tool.
For most product-based Reels, a mix of both works well: extend a clip once or twice for a smooth continuous moment, then cut to a separately generated clip (kept consistent via reference images) for a different angle or scene.
From Finished Clips to a Posted Reel
- Export each finished clip at the highest resolution available to you. Veo 3.1 supports resolution up to 4K depending on your access tier, though many free or lower-tier accounts will see lower resolution or a limited number of generations, so check what’s available on your current plan.
- Bring your clips into an editing tool to sequence them, trim, add captions and music, using the tools covered in our AI editing tools guide.
- Review the finished sequence on an actual phone screen before posting, not just a desktop preview, since pacing that looks fine on a large screen can feel too slow or too fast scrolling through Reels.
- Post with a caption that matches the visual style, since a well-made reel with a weak caption still underperforms.
Example of Reel you can check here which create from Google Omni Gemini Tool
Which Tool Fits Which Path
Google Veo isn’t the only option, and picking the wrong tool for your starting point wastes time.
If you’re working from a product photo, the image-to-video workflow above is what you want, and Veo, covered in our main reel maker AI tools guide, handles this well, including Indian context like clothing styles and settings.
If you want a person speaking in the reel but don’t want to film yourself, that’s a different path entirely, closer to an AI avatar than a product animation. HeyGen, also covered in the main guide, is built specifically for this: you write a script, and it generates a presenter delivering it. This suits coaches, consultants, and course creators more than product-based businesses.
Match your starting material (photo, script, or plain idea) to the tool built for that specific input, rather than trying to force one tool to do all three jobs well.
What This Actually Costs
I don’t have a single verified consumer price to give you here. What I found in current documentation is API-level pricing for Veo (charged per second of generated video), which is a developer/business rate, not necessarily what you’d pay through a consumer Gemini subscription. Since these numbers shift and differ by access method, I’d check current pricing directly in the Gemini app or Google AI plans page rather than relying on a figure here that could be stale by the time this publishes. What I can tell you with more confidence: a usable free tier exists for testing and light use, which is exactly how we approached the kurti project.
Common Mistakes When Using an AI Instagram Reel Generator
- Using a vague prompt and expecting a specific result. The output only matches your intent when the prompt describes that intent clearly.
- Accepting the first generation without reviewing it closely. Small visual glitches are common on a first attempt and are usually fixed by regenerating with a refined prompt.
- Trying to generate one long clip instead of using Extend or reference images. A single generation has an 8-second ceiling. Plan your reel as a sequence of short clips from the start, not one long take.
- Forgetting to reuse reference images across separate clips. This is the single most common reason a multi-clip reel looks disjointed, each clip is generated with no anchor to the last.
- Skipping the editing step entirely. A raw AI-generated clip rarely looks finished on its own. Captions, pacing, and music, added afterward, are what actually make it feel like a polished Reel.
- Not testing on a real phone screen before posting. What looks good in a desktop preview doesn’t always translate to how it feels scrolling through Reels on a phone.
If you’re building this into a business offering, whether for your own products or as a paid service for local businesses, our Business Growth course and AI Digital Marketing course cover how to position and price this kind of work. And if writing strong, specific prompts is the part you want to get better at, our Prompt Engineering course goes deep into exactly that skill, which is honestly the biggest factor in how good your generated reels turn out.
FAQ Section
Q: How long does it take to generate one Instagram Reel with AI?
A: I don’t have a single verified number to give you here, since this depends on the tool, the complexity of the prompt, and how many regeneration attempts it takes to get a clip you’re happy with. In practice, expect several attempts rather than a one-shot result, especially the first few times you use a new tool.
Q: Can I generate a full 30-second Reel in one go?
A: No. A single Veo generation is capped at 8 seconds. To build a longer reel, use the Extend feature to continue a clip in roughly 7-second increments, or generate separate clips and stitch them together in an editing tool, using reference images to keep the subject consistent across them.
Q: How many reference images can I use to keep a character or product consistent?
A: Up to 3, based on Google’s current documentation for the Ingredients to Video feature. Using the same reference images and the same descriptive wording across generations gives the most consistent results.
Q: Do I need a professional photo to start, or can I use a phone photo?
A: A phone photo works, as long as the lighting is clear and the background isn’t too cluttered. The AI has an easier time interpreting a clean, well-lit image than a busy or dark one.
Q: What’s the biggest factor in getting a good result from an AI reel generator?
A: Based on our own experience, prompt specificity matters more than the tool you choose. A vague prompt produces a vague result regardless of which AI tool you’re using.